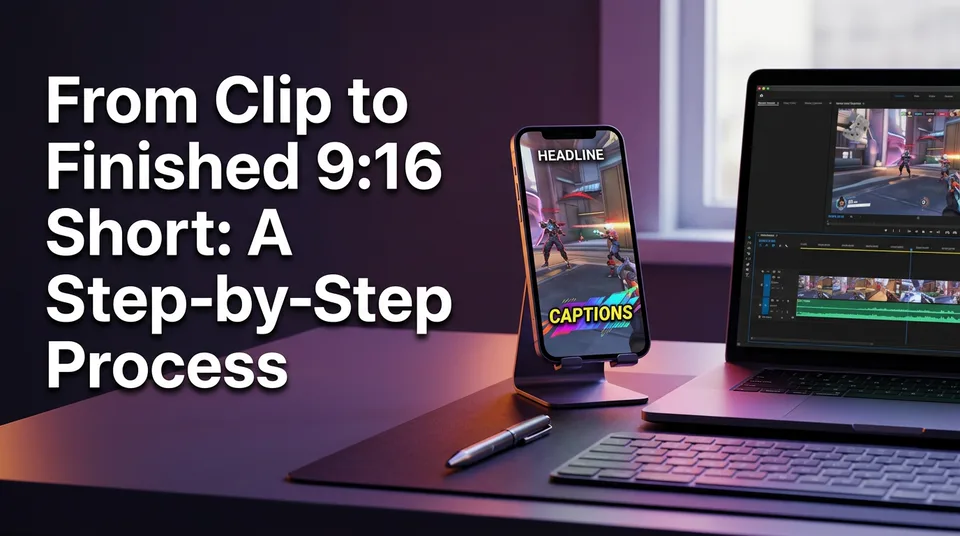
From Clip to Finished 9:16 Short: A Step-by-Step Process
Reframing to 9:16 is only step one. Here's the full order for finishing a clip as a vertical short that holds attention on Reels, Shorts and TikTok.
In this article
To turn a clip into a vertical short, reframe it to 9:16 (1080x1920), trim it to the strongest moment, add captions, a headline, music and a cover, then export and check it on a phone. Done in one tool, those six steps take a few minutes per clip. Done across four apps, they eat an evening.
Most guides stop after the crop. That's the easy part, and it's why so many vertical clips still flop: the file is the right shape, but nobody finished it.
Key takeaways
- A finished short is six decisions in order: reframe, trim, caption, headline, music and cover, export.
- The format is 9:16 at 1080x1920 pixels, exported as MP4. The same file works on Facebook Reels, YouTube Shorts, TikTok and Instagram Reels.
- Choose the reframing method by where the action sits: center crop, subject tracking, or blurred-background fit.
- Roughly 15-60 seconds is a sensible target for most clips. It's a guideline, not a rule.
- The most common finishing mistake is captions covering the key action. Move them to a lower-third safe area, shorten the lines, and check on a real phone.
- Always run a pre-publish check on framing, captions, audio, hook, cover and rights before you post.
What a finished 9:16 short needs (and what a raw clip lacks)
A raw clip is footage, and a finished short is footage plus the packaging that makes someone stay. A landscape 16:9 clip dropped into a vertical player either shrinks to a thin strip or gets cropped wherever the app decides. Neither looks intentional.
9:16 size and safe zones
The standard vertical canvas is 1080x1920 pixels at a 9:16 aspect ratio. YouTube's own help page on creating YouTube Shorts describes the vertical format and length limits, and Meta's Business Help Center covers Reels specs. Both change over time, so check them before you build a template around a number.
Safe zones matter more than the canvas size. Every app draws its own interface over your video: buttons down the right edge, the username and description along the bottom, a bar across the top. Text or action that sits under those elements gets hidden.
A working rule: keep captions and headlines inside the middle of the frame, well away from the bottom strip and the right edge. Exact margins differ between apps and shift when they redesign. So test on a phone rather than trusting a diagram.
Clip vs finished short: the checklist of missing parts
Here's what a raw clip usually lacks:
- A 9:16 frame where the subject is actually visible
- A start point that skips the setup
- Readable captions, since many people watch without sound
- A headline that tells the viewer why to keep watching
- Music or sound balanced against the original audio
- A cover frame that looks good on the profile grid
- An MP4 export at the right size
Each missing piece is a reason to swipe. The next six steps add them in the order that causes the fewest redos.
Step 1: Reframe the landscape clip to vertical
To convert a landscape video to vertical, scale the clip so it fills the 1080x1920 canvas, then position it so the subject stays in frame. Do this first, because every later step (caption position, headline, cover) depends on where the action ends up.
The same applies if you're wondering how to make a YouTube Short vertical. A horizontal source is a 1920x1080 frame, and a vertical frame cuts a narrow slice out of it. You're choosing which slice.
Center crop vs subject tracking vs blurred-background fit
| Method | Best when | Watch out for |
|---|---|---|
| Center crop | The action stays in the middle (a talking head, a single performer) | Anything at the edges gets cut |
| Subject tracking | The subject moves across the frame (sports, dance, a pet running) | Tracking can drift or jitter on fast cuts |
| Blurred-background fit | You need the whole wide frame visible (a wide landscape, a scoreboard, a group) | The video shrinks and the subject gets smaller |
Our default is subject tracking for moving action and center crop for anything static. We reach for blurred-background fit only when cropping would destroy the point of the clip. A wide shot with a blurred fill reads as lazy if you do it to every clip, and it leaves less room for captions.
Scrub through the whole clip after reframing, not just the first frame. Tracking that looks perfect for 3 seconds can lose the subject at second 12.
Twitch and gameplay clips: handling facecam and game feed
For a Twitch clip to vertical short conversion, the problem is that a stream frame holds two things: the game feed and the streamer's facecam. A plain center crop usually cuts one of them off.
Two layouts work. Crop to the game feed and drop the facecam if the reaction isn't the point. Or stack them: game on top, facecam below, each cropped to fit its half. Stacking suits reaction-driven clips. Keep the game's critical area (health bar, crosshair, the thing that dies) away from the part where captions will sit.
One more thing for stream content: clip your own streams, or get permission. Reposting someone else's highlight isn't a workflow, it's a problem.
Step 2: Trim the clip to the strongest moment
To shorten a clip, cut everything before the moment viewers came for and stop right after it lands. Most clips run long because the creator hit record early and stopped late.
As a guideline, roughly 15-60 seconds works for most clips on Reels, Shorts and TikTok. Some do well shorter, some longer, and platform limits change. For the detail, see the clip-length guide linked below.
Cut the setup, keep the payoff
Find the single moment that justifies the clip: the goal, the punchline, the reveal. Then walk backward and keep only the context a stranger needs to understand it. Often that's 2-5 seconds.
We've watched pages open every clip with 8 seconds of "so here's what's happening", then wonder why retention collapses. Start on the action, or on the line that creates the question. Context can arrive in the headline instead.
Picking an end point that supports watching to the end
Watch time and retention reward clips people finish. So end on the payoff, not after it. A clip that ends 4 seconds after the punchline gives viewers a reason to swipe before it loops.
Two practical tests. If you cut the last 2 seconds and nothing is lost, cut them. And if the ending cuts mid-word or mid-motion, the loop will feel broken, so find a cleaner frame.
Step 3: Add captions without covering the action
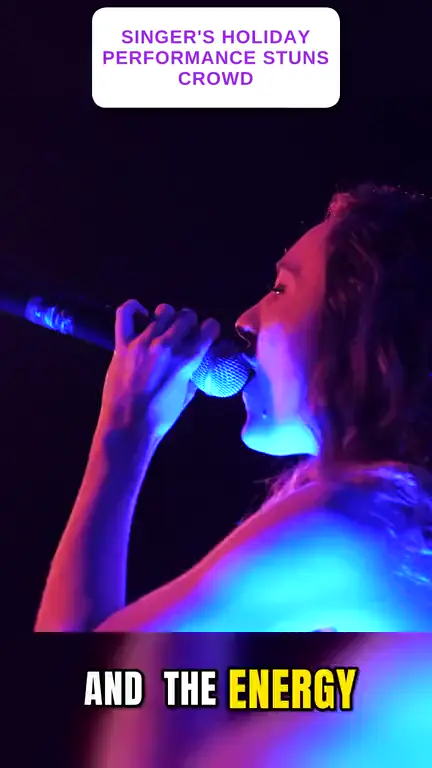
Captions go in the lower-middle of the frame, large enough to read on a phone, and clear of the action. Many viewers watch muted, so captions carry the clip for them. But the most common finishing mistake is letting those captions sit on top of the thing people came to see.
Caption placement, size and line length
Use these defaults:
- Keep lines to roughly 2-4 words at a time for fast-paced clips, or one short line for slower talk.
- Use a bold, high-contrast font with an outline or background so it reads over any footage.
- Place the block in the lower third, above the bottom UI strip, not at the very bottom.
- Limit it to two lines. A third line starts climbing into the action.
Animated captions, where words appear as they're spoken, hold the eye better than a static block. They also make it obvious when a line is too long, because it wraps awkwardly.
Fixing a caption that hides the action
If captions cover a face, a ball, a pour, or a hand, you have three fixes. Shift the caption block up or down into an empty area. Shorten the lines so the block gets narrower. Or reframe the clip slightly so the action sits higher in the frame.
Then check it on an actual phone, not just your editor preview. The UI overlays only show up in the real app, and a caption that looked fine in the timeline can vanish under the description text.
Step 4: Add a headline that frames the clip
A headline is a short on-screen line in the first seconds that tells the viewer what they're about to see and why it matters. It does the job a title does on YouTube, but inside the video.
Keep it to roughly 4-8 words. Name the stakes or the surprise: "He did this at 2 a.m. on stream", "The repair nobody thought would work". Don't promise something the clip doesn't deliver, because viewers leave, and the platform sees that.
Put it near the top third, inside the safe zone, and keep it on screen for the first 2-4 seconds only. Leave it longer and it fights the captions for attention. Headlines also give you a hook when the opening frame is quiet.
Step 5: Add music and a cover
Music and a cover are the last two pieces of polish, and each is a quick decision with a clear rule. Music sets pace. The cover decides whether someone taps from your profile grid.
Music level against the original audio and rights-safe choices
If the clip has speech or key sound, keep music well under it, quiet enough that every word stays clear. If the original audio is just ambient noise, music can lead.
On rights: use music you own, music licensed for commercial use, or the licensed library inside the platform's own tools. Don't drop in a popular track from a streaming service and hope for the best, and don't try tricks to dodge Content ID. Claims on a monetized page can cost you revenue. Rules on music vary by platform and by account type, so check them.
Cover frame and text for the profile grid
Pick a frame with a clear subject and a bit of emptiness, so any text stays readable. Add 3-5 words at most, centered so it survives the profile grid's crop. Skip blurry mid-motion frames and the black fade-in frame.
A good cover maker step takes a minute and makes the whole page look consistent. Reuse the same font and placement across posts.
Step 6: Export and upload
Export as MP4 at 1080x1920, 9:16, and use the same file for every platform. You don't need separate renders for Facebook Reels, YouTube Shorts, TikTok and Instagram Reels, though each app may recompress it.
A short settings list:
- Resolution: 1080x1920
- Aspect ratio: 9:16
- Format: MP4
- Frame rate: keep the source's rate (commonly 24, 30 or 60 fps)
- Length: within the target platform's current limit
Upload through the app or Meta Business Suite for Facebook and Instagram. Then add the title, description and hashtags natively. Check the platform's help pages for current length and size limits before bulk-uploading, since those numbers do change.
Pre-publish quality checklist for a vertical short
A pre-publish check takes about a minute and catches the mistakes that cost the most reach. Run it on a phone, full screen, with the sound on and then off.
Visual and audio checks
- The subject is visible for the whole clip, not cropped out or drifting off-frame.
- Captions are readable at arm's length and don't cover the action.
- Headline and captions sit clear of the bottom text and the right-side buttons.
- The hook lands in the first 2-3 seconds.
- Music sits under speech, and no word is clipped.
- The cover frame is sharp and the text is legible.
Platform and rights checks
- You own the footage or have permission to post it. Originality matters on monetized pages.
- Music is licensed or from the platform's library.
- The clip isn't a bare repost with a logo slapped on. Add something: commentary, structure, story.
- The video meets the platform's current length and format rules.
- Eligibility and payouts are decided by Meta, YouTube and TikTok, not by how polished the file is.
Doing the whole clip-to-reel workflow in WowReveal
WowReveal does all six steps in one web app: paste a link or upload a file, and it finds the best moments, adds animated captions, a headline, music and a cover, and renders a 9:16 video. You don't hop between a cropper, a caption app, a music tool and a cover editor.
The AI Clipper handles the "which part of this long video is the clip" question, which is the one most free croppers skip. For the finishing, you get captions, headline, music and cover in the same pass. It can also write a story and voice it in 9 languages with AI voiceover if you'd rather build a narrated short than a raw highlight.
New accounts get free credits to start, no card needed. If a job fails, the credits are refunded automatically. That makes it a low-risk way to see whether a "make video vertical online free" tool really finishes the job or just crops.
Manual editor vs AI Clipper finishing: when each makes sense
| Situation | Better choice |
|---|---|
| You already know the exact moment and want full control of every frame | Manual editor |
| One precise, branded edit you'll polish for a long time | Manual editor |
| A long video where you need to find several good moments | AI Clipper |
| Daily posting across one or many pages, where minutes per clip matter | AI Clipper finishing |
| Podcast, stream or interview source with lots of dead air | AI Clipper, then review |
When you're picking any clip-to-vertical tool, judge it by what it finishes, not just the crop. A good one handles captions, headline, music, cover and export. And whichever you use, still watch the result on a phone before you post. We do, every time.
Frequently asked questions
How do I turn a clip into a Short?
Reframe the clip to 9:16 (1080x1920), trim it to the strongest moment, add captions, a headline, music and a cover, then export as MP4 and check it on a phone. In one tool this takes a few minutes per clip.
How do I make a YouTube Short vertical?
Set the canvas to 9:16 at 1080x1920, then scale or crop the horizontal footage to fill it. Use subject tracking if the action moves, center crop if it stays centered, or a blurred-background fit if you need the whole wide frame. YouTube's help page lists current Shorts requirements, which may change.
How long should a vertical short be?
Roughly 15-60 seconds works for most clips, but it's a guideline, not a rule. Cut the setup, end on the payoff, and check each platform's current length limits before posting.
Is there a free way to make a video vertical online?
Yes, several tools offer free tiers or free credits, including WowReveal, which gives free credits to start without a card. Check that the tool also handles captions, headline, music, cover and export, not just cropping, and watch for watermarks or limits on the free plan.
Can I use the same vertical file on Reels, Shorts and TikTok?
Generally yes. A 1080x1920 MP4 at 9:16 is accepted by Facebook Reels, YouTube Shorts, TikTok and Instagram Reels. Keep captions inside the safe zones, since each app places its buttons and text slightly differently.
Where to go next
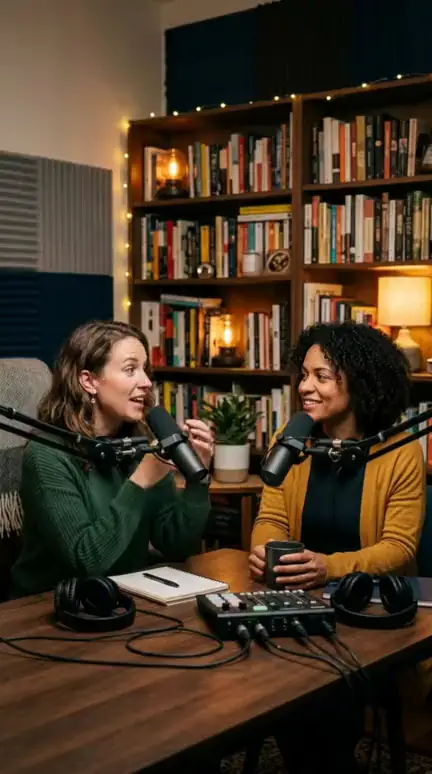
- AI Video Clipper: How It Finds the Best Moments in Long Videos — if you still need to find the clip, see how AI picks moments before you finish them.
- What Is Best-Moment Clipping? Definition, Scoring and Clip Length — explains how moments and lengths are chosen for the trim step.
- How Long Should a Clip Be for Shorts and Reels? — detailed length guidance beyond the 15-60 second guideline.
- How to Turn a YouTube Video into Shorts (Step by Step) — the adjacent walkthrough when your source is a YouTube video.
- Podcast Clips for Reels and Shorts: How to Pick, Format and Post Them — covers reframing speakers and captions for podcast sources.
- How to Make a Reel Cover That Gets Taps (Cover Maker Guide) — goes deeper on the cover frame and text from step 5.
- Monetization-Safe Shorts: A Pre-Publish Checklist for Every Reel and Short — extends the quality check with platform-rule and rights checks.
- Repurposing Long Video into Shorts: The Complete Workflow — the parent guide covering the full long-to-short workflow.
- What Is a Story Voiceover Short? Definition, Length and Example
- What Is a Clip vs a Short? The Difference Explained
- YouTube Shorts Longer Than 60 Seconds: How the Three-Minute Limit Works
- How to Add a Headline, Music and Cover to a Clip Automatically
Generate your reel right now
Paste a link to a long video — AI finds the best moments and turns them into ready Shorts with captions.

No link? Upload a file
- 30 free credits
- No card needed
- Voiceover in 9 languages
- Failed jobs refunded